------------------------------------
Disclaimer: this post is written based on Samsung Galaxy S4 GT-I9500 runs with Android 5.0.1 Lollipop and the computer uses Windows 7 Professional 32-bit as the operating system.
------------------------------------
How to delete music files from Samsung Galaxy S4 with Android 5.0.1 Lollipop in a Windows computer via Windows Explorer app?
As the example, we'll delete all music files stored in the Music folder in the internal storage of Samsung Galaxy S4 while it's being connected to a Windows PC via Windows Explorer app by using the following steps:
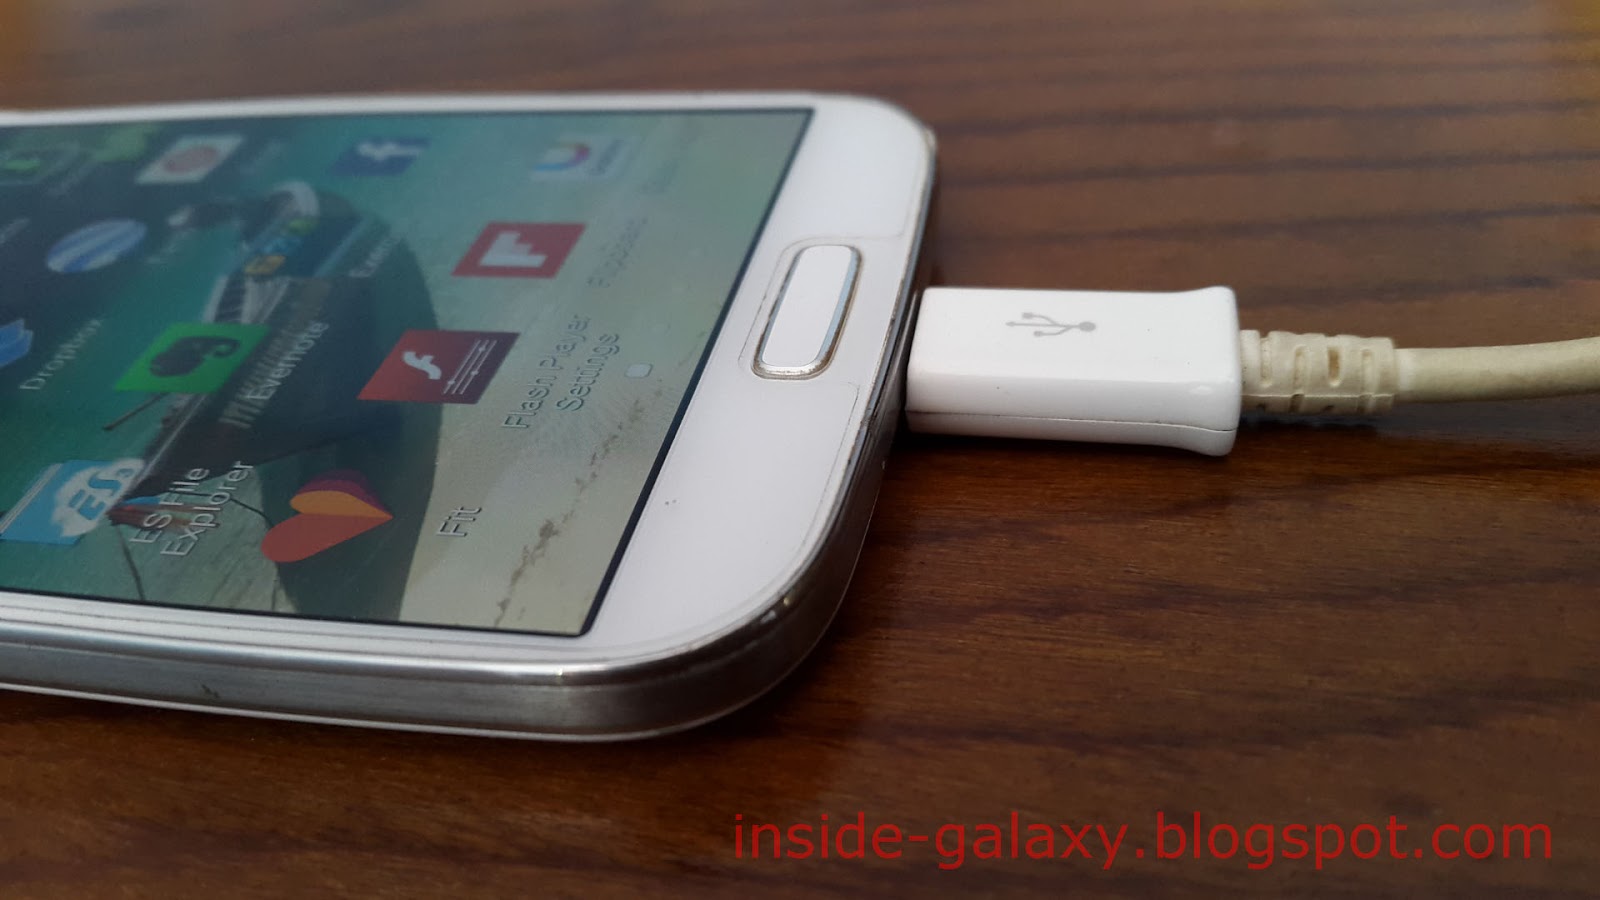
- Connect your phone to the computer using the provided USB cable by plugging the micro USB connector to the micro USB port in your device (it's located under the Home key) and the USB connector to a USB port on your PC. If it's the first time for you to connect your phone with the PC, your PC may need a few minutes to install the driver. By default, your phone will use MTP as the connection mode.

- When the phone has been successfully connected to your PC and is ready to use, a pop up window will appear on your computer. Click Open device to view files to automatically explore your phone in the Windows Explorer.

- In the Windows Explorer app, click the Phone folder to explore the internal storage of your phone, and then click the Music folder to view all music files within this folder.
- Select all music files within the Music folder by using the keyboard shortcuts Ctrl+A.
- To delete the selected music files, press the Delete key in your PC's keyboard, or click the right-mouse button and then select Delete.

- Click the Yes button to confirm deleting the music files.

- All music files within the Music folder will be permanently deleted from your phone.
- Once done, close the Windows Explorer app and then you can disconnect your phone from the PC by unplugging the USB cable from your phone and your PC.