------------------------------------
Disclaimer: this post is written based on Samsung Galaxy S4 GT-I9500 runs with Android 5.0.1 Lollipop and the computer uses Windows 7 Professional 32-bit as the operating system.
------------------------------------
How to transfer photos from Samsung Galaxy S4 with Android 5.0.1 Lollipop to a Windows computer via Samsung Kies 3 app?
You can do so by using the following steps:
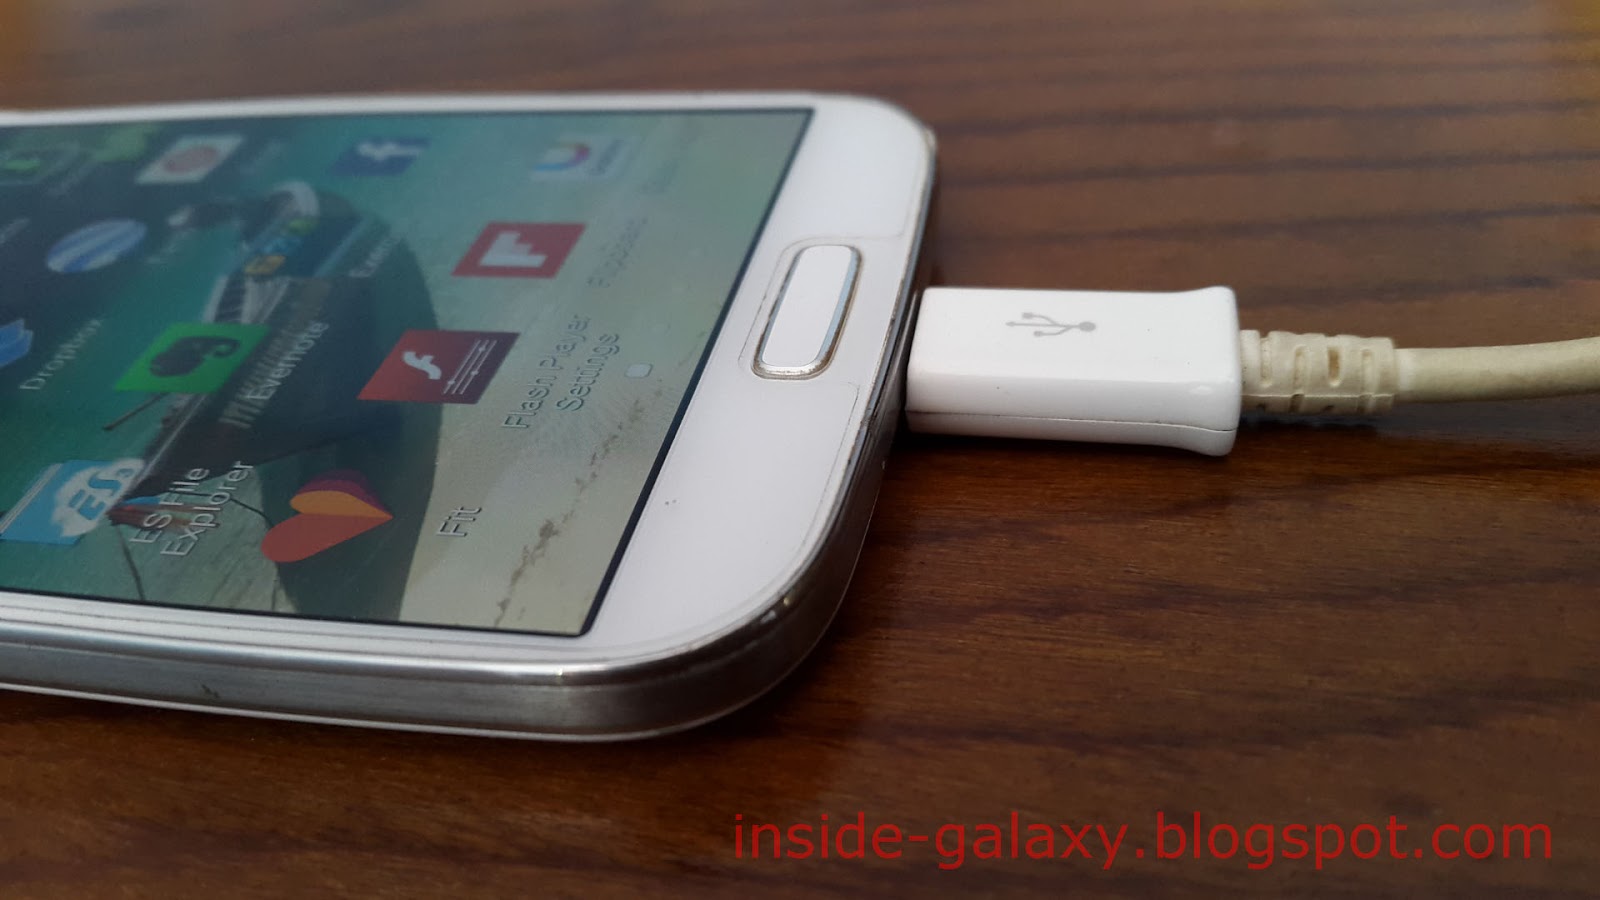
- Connect your phone to the computer using the provided USB cable by plugging the micro USB connector to the micro USB port in your device (it's located under the Home key) and the USB connector to a USB port on your PC. If it's the first time for you to connect your phone with the PC, your PC may need a few minutes to install the driver. By default, your phone will use MTP as the connection mode.

- When your phone has been successfully connected to your PC, launch Samsung Kies 3 app in your computer. If you have not installed this app yet, you can download it here and then install it in your computer. As a note, Samsung Kies 3 app supports Samsung Galaxy phones running with Android 4.3 Jelly Bean or later versions.
- Samsung Kies 3 app will connect to your phone automatically.
- In Samsung Kies 3 app screen, click Photos located at the left side menu. All of photos in your phone will be displayed here.
- By default, your photos will be grouped by the date. But, if needed, you can group them by month, by year or by folder.
- Now, you can select the required photos you want to transfer to your PC and then click
 at the top of the Kies screen.

- Select a folder in your PC and then click the Select Folder button to save the selected photos to the selected folder. It may take several minutes or so, depends on how many photos that you want to transfer to your PC. Wait until the process is completed.

- Once done, you can disconnect your phone from Samsung Kies 3 app by clicking
 in the right side of the device name in the Kies screen. Then, you can disconnect your phone from the PC by unplugging the USB cable from your phone and your PC.